Do the following to configure the Stentofon IP Desktop Intercom Station:
Open a web browser on the server and connect to the phone through the web interface using the phone’s IP address determined in the Configuring IP Address section.
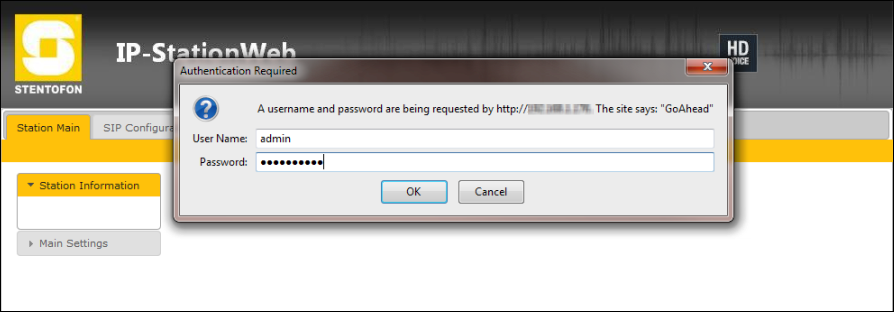
Select Unsecure Login (HTTP).
In the Authentication Required window, do the following: a. Enter admin in the Username field. b. Enter the password in the Password field. The default password is alphaadmin.
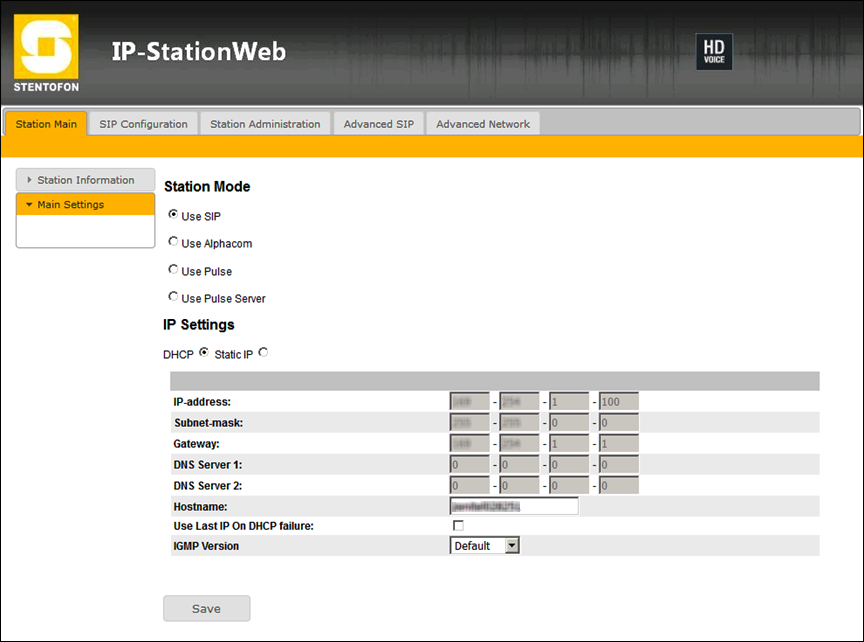
Do the following for the Static IP option: a. Enter the IP address in the IP-address field. b. Enter the Subnet mask in the Subnet mask field. c. Enter the Gateway address in the Gateway field. d. Enter the Hostname in the Hostname field.
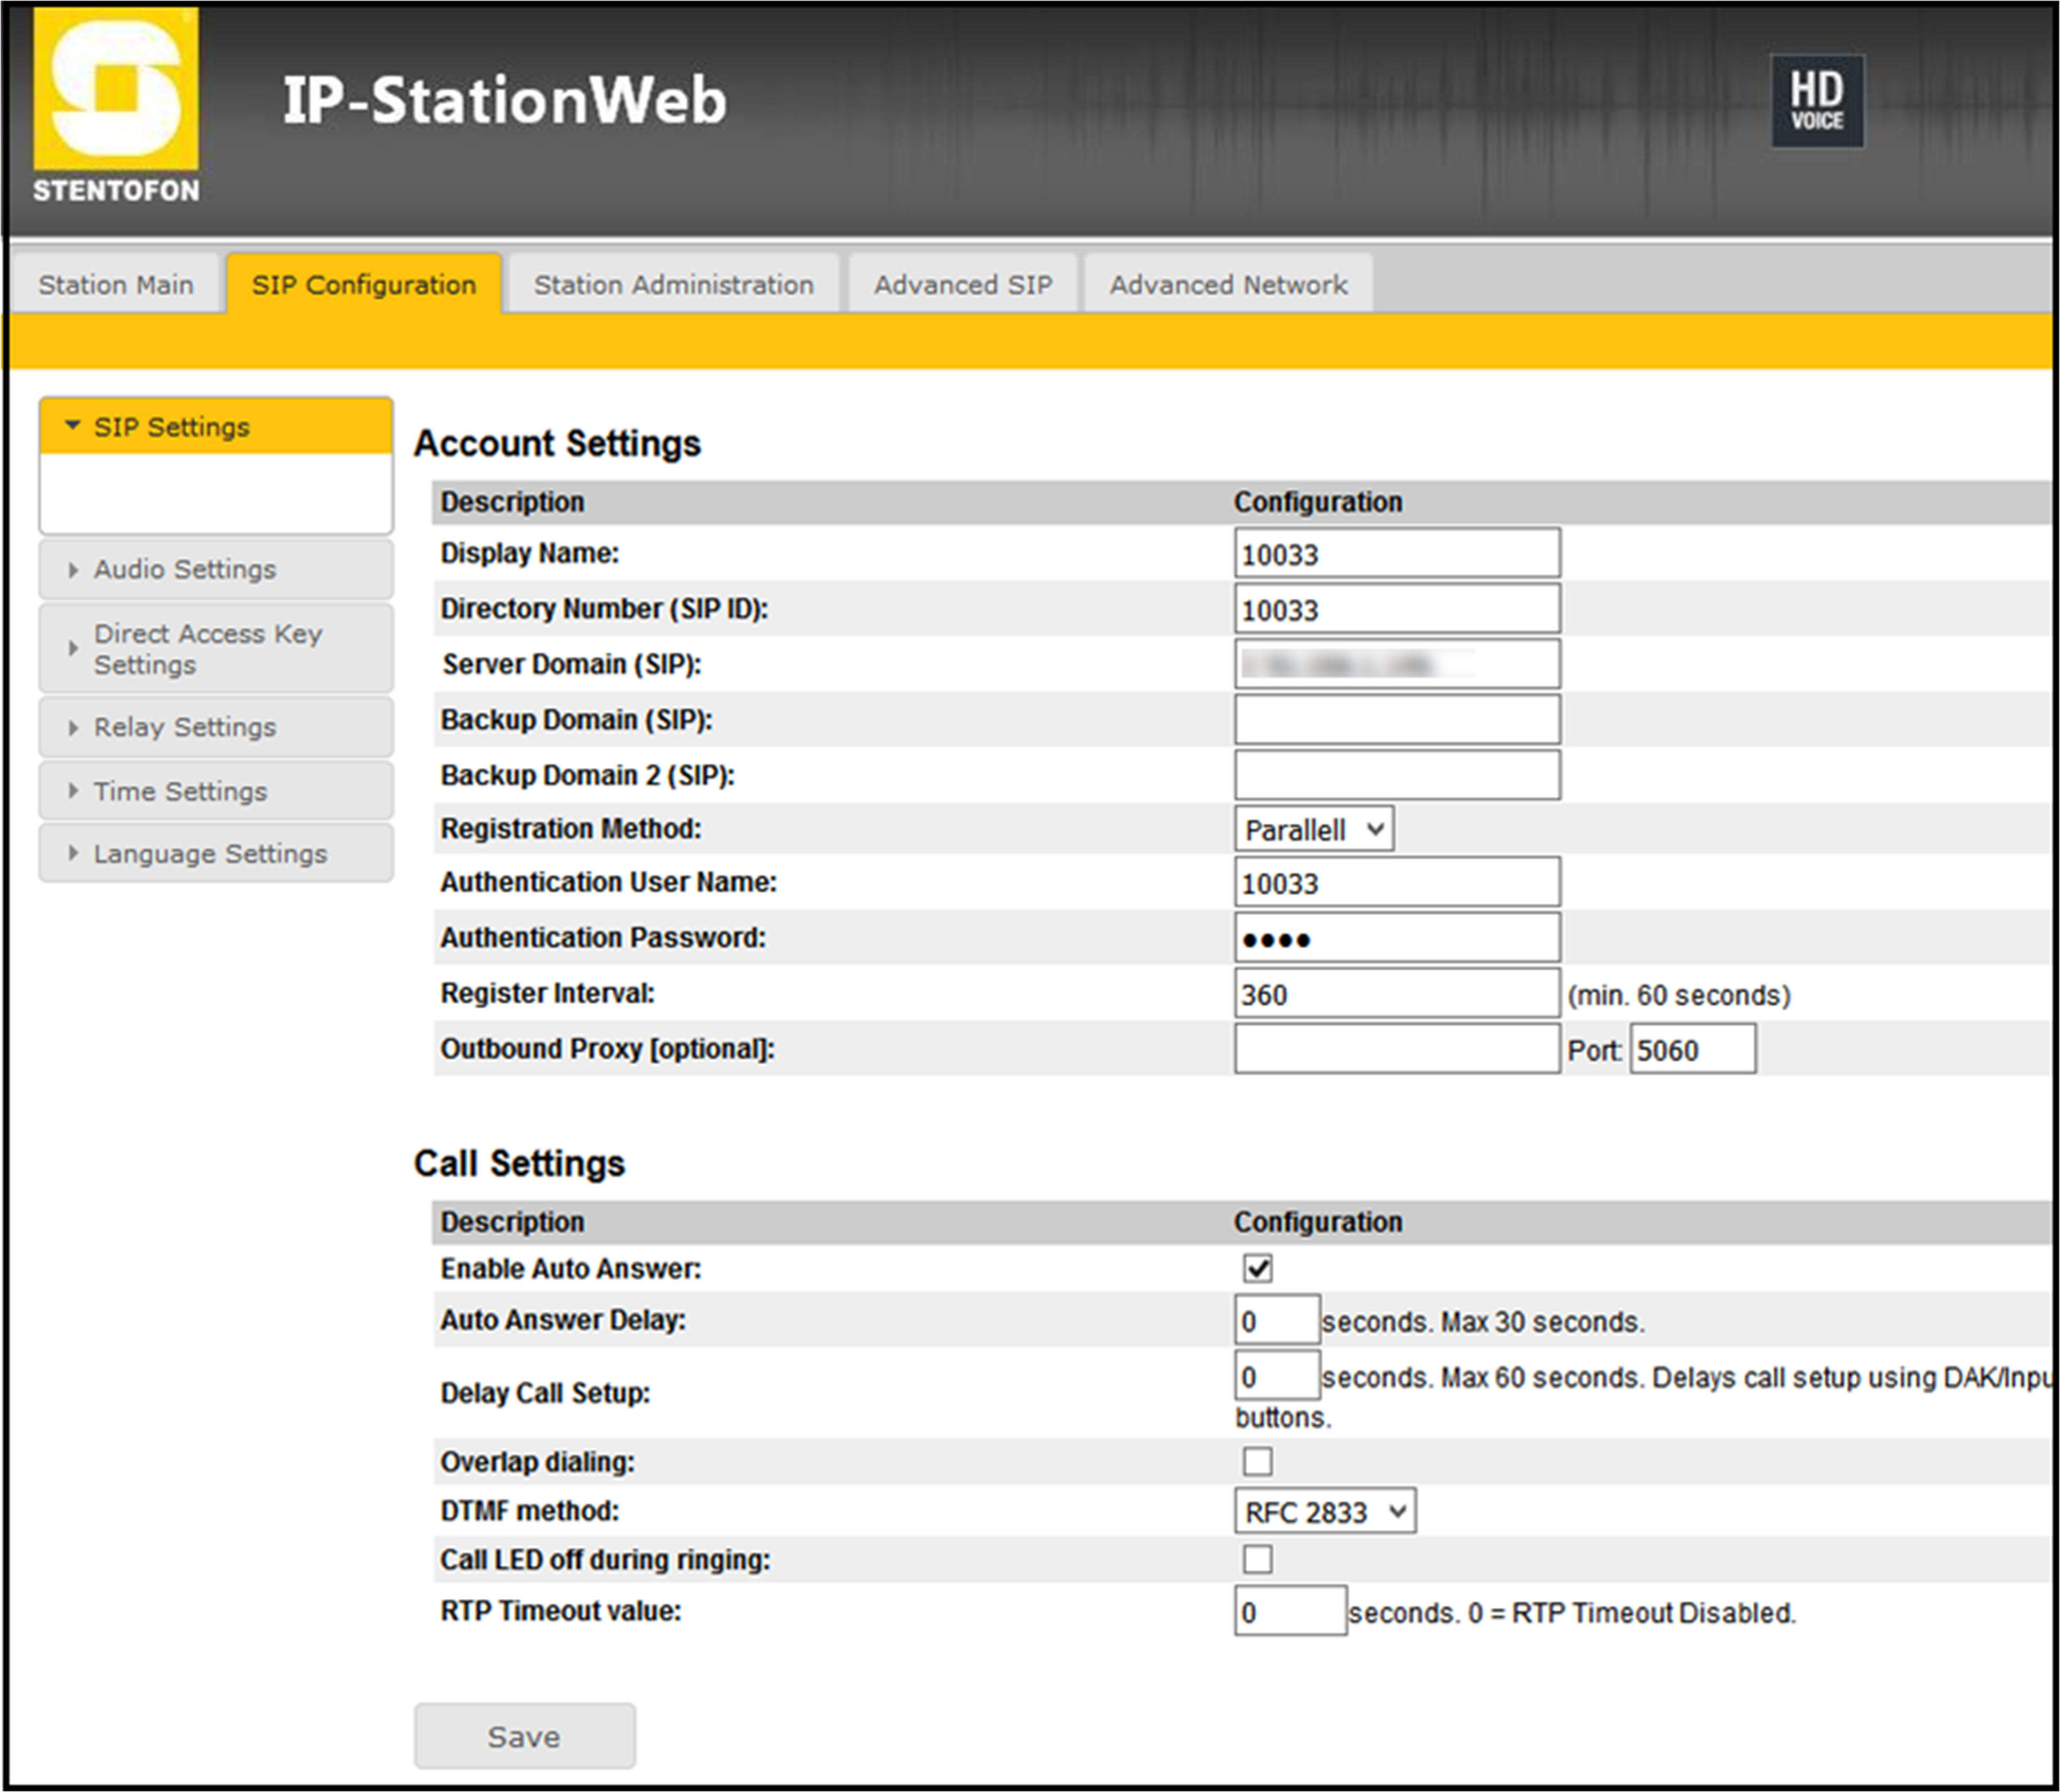
In the Account Settings section, do the following: a. Enter the FreeSwitch extension number configured for the Stentofon IP Desktop Intercom Station in the Display Name field. b. Enter the FreeSwitch extension number configured for the Stentofon IP Desktop Intercom Station in the Directory Number (SIP ID) field. c. Enter the IP address for the server running the FreeSwitch in the Server Domain (SIP) field. d. Select Parallel in the Registration Method field. e. Enter the FreeSwitch extension number configured for the Stentofon IP Desktop Intercom Station in the Authentication User Name field. f. Enter the password of the FreeSwitch extension assigned to the Stentofon IP Desktop Intercom Station in the Authentication Password field. g. Enter 360 in the Register Interval field.
In the Call Settings section, do the following: a. (Optional) Select the Enable Auto Answer check box. b. Select RFC-2833 in the DTMF method field.
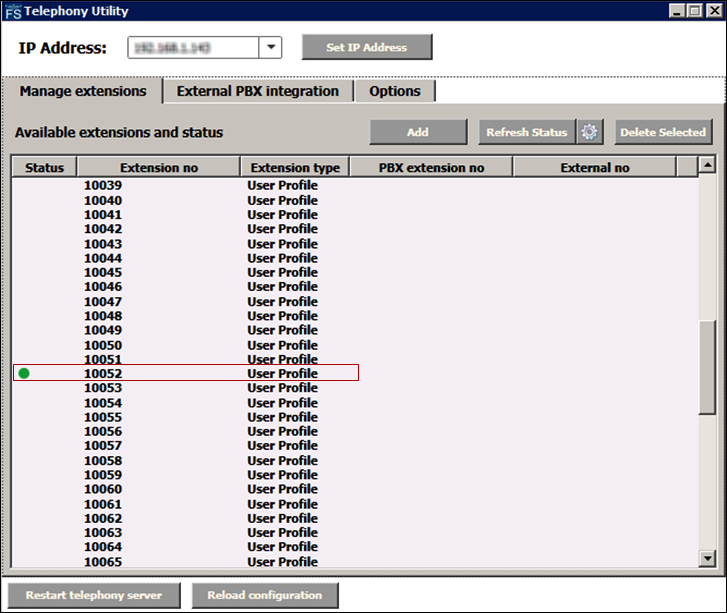
Perform the following steps to verify if the green dot appears next to the extension used by the IP phone. a. Open the Telephony Configuration Tool. NOTE: The Telephony Configuration Tool is installed with Notification. b. Verify if the green dot appears next to the extension used by the IP phone. This green dot signifies that the device is properly connected and registered with Notification‘s integrated PBX, FreeSwitch.
Perform the following steps to configure one IP phone with an extension different from the extension of Stentofon IP Desktop Intercom Station: a. Configure the IP phone with extension 10010. The Stentofon IP Desktop Intercom Station is configured with extension 10052. b. Use the IP phone with extension 10010 to call the Stentofon IP Desktop Intercom Station with extension 10052. c. Verify that the audio and the microphone are working properly on each end.