Creating and Configuring IP Phone Avaya (9620L)
Scenario: You want to configure IP Phone Avaya (9620L).
Reference: For background information, see the reference section.
Workflow diagram:
Prerequisites:
- IP Phone Avaya (9620) is installed.
- IP Address is configured.
Steps:
1 – Reboot the IP Phone Avaya (9620L)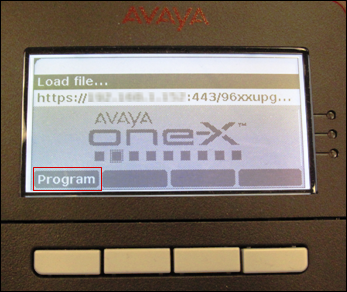
- Reboot the phone by disconnecting and reconnecting the network cable and press Program.
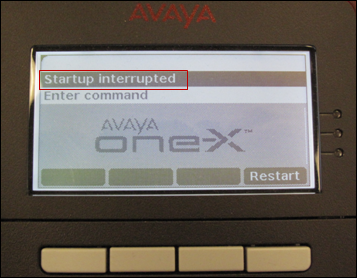
- The phone startup is interrupted.
- Press the Mute button followed by 1234 # sequence.
- The phone displays Admin Procedures.
2 – Enter IP Address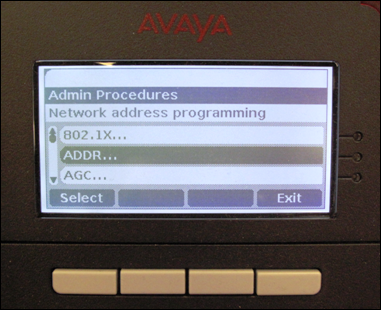
- Choose ADDR and click Select.
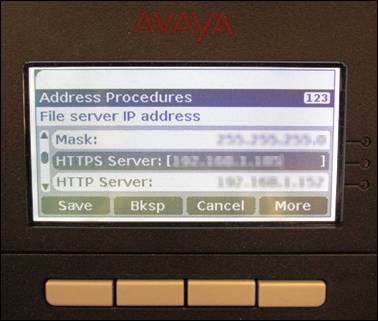
- Scroll down and select HTTPS Server.
- Enter the IP address corresponding to the server where the hfs.exe application is running.
- Press Save to save the settings.
3 – Restart Phone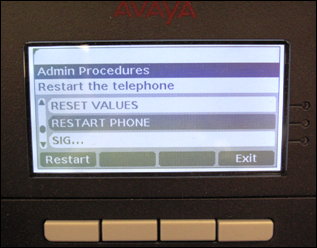
- Scroll down to select RESTART PHONE and press Restart.
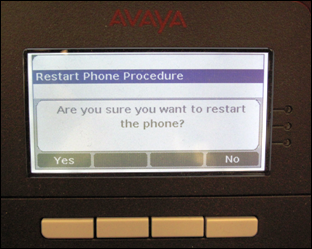
- A confirmation message displays. Press Yes to restart the phone.
- After the phone restarts, press the Mute button followed by 1234 # sequence.
- The phone displays Admin Procedures.
4 – Configure SIP Global Settings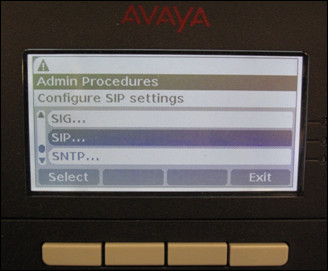
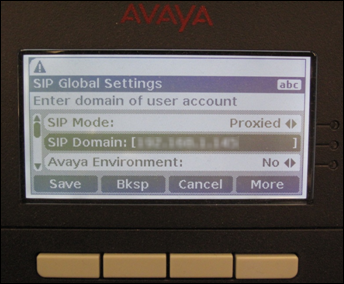
- Scroll down to select SIP and press OK.
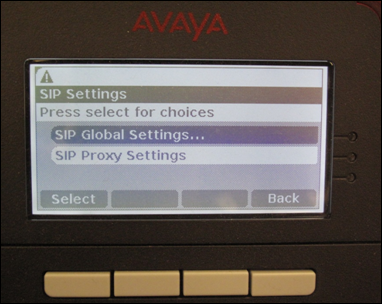
- Select SIP Global Settings.
- Select SIP Domain and set it to match the server IP address running the FreeSwitch.
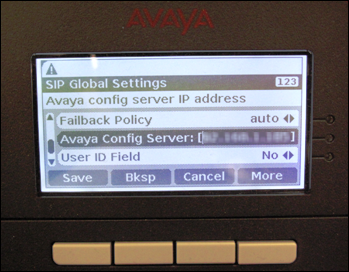
- Scroll down to select Avaya Config Server and set it to match the server IP address corresponding to the server where HTTP Configuration Server is running.
- Press Save.
5 – Configure SIP Proxy Settings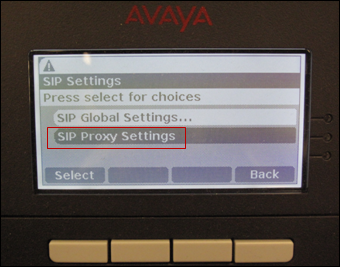
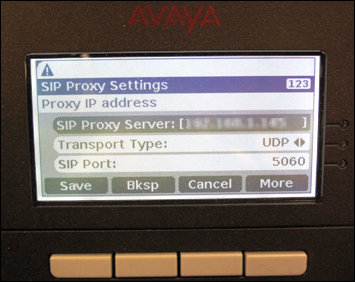
- Select SIP Proxy Settings.
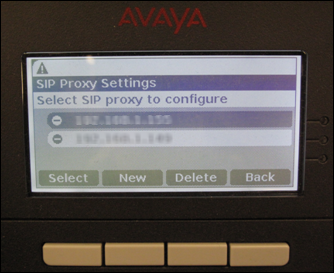
- Set the SIP Proxy Server to match the server IP address corresponding to the server running the FreeSwitch.
- The SIP Proxy Server field displays the set server IP address.
- Press Save.
- Select Exit by pressing Back a couple of times.
- Press Exit and the phone may reboot.
6 – Logout IP Phone Avaya (9620L)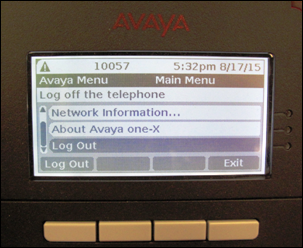
- If the phone restarts, select Menu and select Logout.
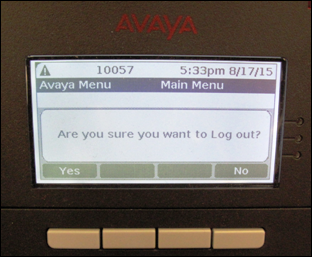
- A confirmation message displays.
- Press Yes to log out.
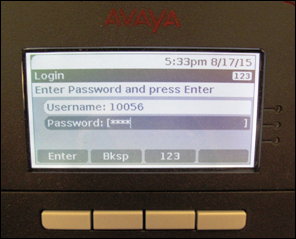
- At the Username prompt, enter the phone extension to match the extension reserved in the FreeSwitch.
- At the Password prompt, enter the password (this is the same as the password used in the FreeSwitch for this extension).
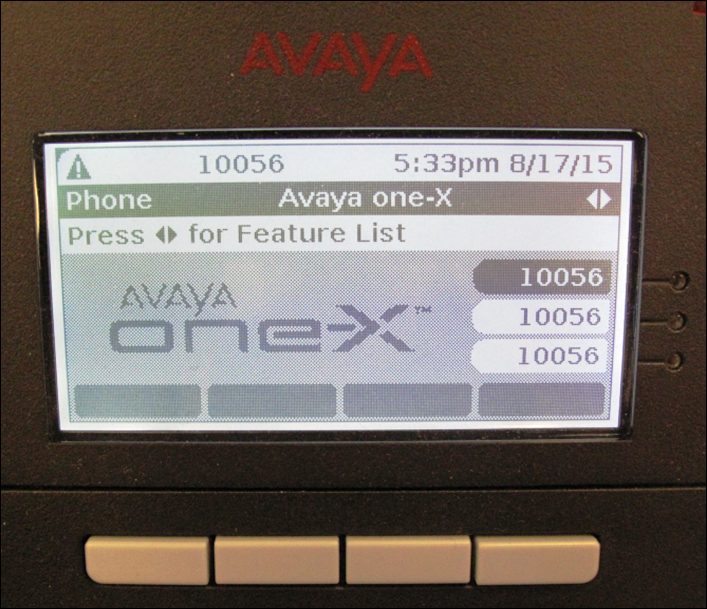
- The corresponding FreeSwitch extension displays.
- Restart the FreeSwitch Application user interface and verify that the programmed extension is registered with the FreeSwitch.
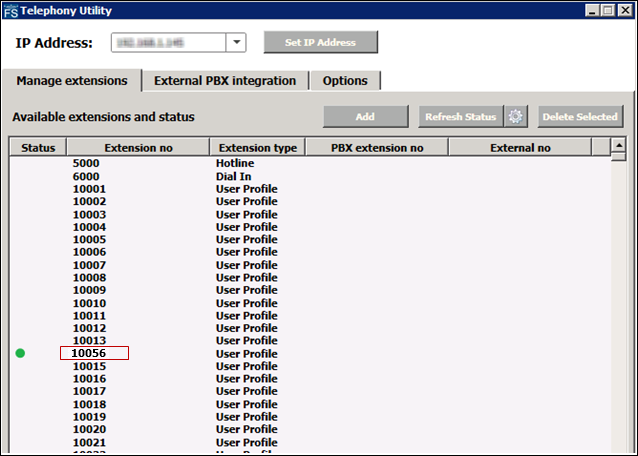
7 – Verify IP Phone Avaya (9620L)
- Perform the following steps to verify if the green dot appears next to the extension used by the IP phone.
- Open the Telephony Configuration Tool.
NOTE: The Telephony Configuration Tool is installed with
- Verify that the green dot appears next to the extension used by the IP phone. This green dot signifies that the device is properly connected and registered with integrated PBX, FreeSwitch.
- Perform the following steps to configure one IP phone with an extension different from the extension of the Avaya 9620L IP phone.
- Configure the IP phone with extension 10010. The Avaya 9620L IP phone is configured with extension 10056.
- Use the IP phone with extension 10010 to call the Avaya 9620L IP phone with extension 10056.
- Verify that the audio and the microphone are working properly on each end.