KNX Symbols
When integrating the KNX extension, the following symbols are available in graphics:
- Three light symbols
- Two shutter symbols
- Generic symbols to display values
- Command symbols
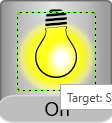
DYN_2D_KNX_Light_Simple_None_Horizontal_002 | |
| |
| |
Engineering the symbol | |
To use this symbol in your graphic, drag it from the Library Browser1) and set the required substitutions in the Symbol Instance Properties. | |
Symbol Instance Properties | |
Substitutions | Setting |
*OnOffValue2) (/Object Reference) | From System Browser, link the exact point that corresponds with the on/off value of the light. |
OnOffCmd | From System Browser, link the exact point that corresponds with the on/off command of the light. |

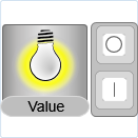
DYN_2D_KNX_Light_Simple_None_Horizontal_001 | |
| |
| |
Engineering the symbol | |
To use this symbol in your graphic, drag it from the Library Browser1) and set the required substitutions in the Symbol Instance Properties. | |
Symbol Instance Properties | |
Substitutions | Setting |
*OnOffValue2) (/Object Reference) | From System Browser, link the exact point that corresponds with the on/off value of the light. |
OnOffCmd | From System Browser, link the exact point that corresponds with the on/off command of the light. |
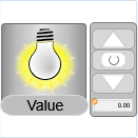
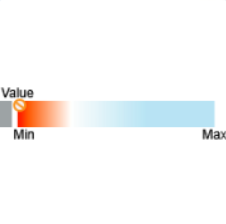
DYN_2D_KNX_Light_Dimming_None_Horizontal_001 | |
| |
| |
Engineering the symbol | |
To use this symbol in your graphic, drag it from the Library Browser1) and set the required substitutions in the Symbol Instance Properties. | |
Symbol Instance Properties | |
Substitutions | Setting |
*DimmingValue2) (/Object Reference) | From System Browser, link the exact point that corresponds with the dimming value of the light. |
ChangeAmount | Value to control dimming increase/decrease. |
DimmingCmd | From System Browser, link the exact point that corresponds with the absolute dimming command of the light. |
OnOffCmd | From System Browser, link the exact point that corresponds with the on/off command of the light. |
Precision | Defines the resolution of the dimming value in the graphic. Default is 0. |
DYN_2D_KNX_Shutter_None_Horizontal_001 | |
| |
| |
Engineering the symbol | |
To use this symbol in your graphic, drag it from the Library Browser1) and set the required substitutions in the Symbol Instance Properties. | |
Symbol Instance Properties | |
Substitutions | Setting |
*BlindsValue2) (/Object Reference) | From System Browser, link the exact point that corresponds with the blinds value. |
BlindsCmd | Defines the blinds command:
|
Precision | Defines the blinds value resolution displayed in the graphic. Default is 0. |
StopCmd | Link the exact Boolean point that will manage the blinds stop. |
UpDownCmd | Link the exact Boolean point that will manage the blinds up/down commands. |

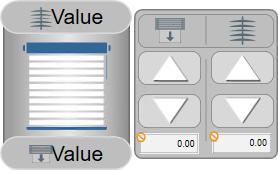
DYN_2D_KNX_Shutter_None_Horizontal_002 | |
| |
| |
Engineering the symbol | |
To use this symbol in your graphic, drag it from the Library Browser1) and set the required substitutions in the Symbol Instance Properties. | |
| |
Symbol Instance Properties | |
Substitutions | Setting |
*BlindsValue2) (/Object Reference) | From System Browser, link the exact point that corresponds with the blinds value. |
BlindsCmd | From System Browser, link the exact point that corresponds with the absolute blinds command. |
BlindsUpDownCmd | Link the exact Boolean point that will manage the blinds up/down commands. |
LouvresCmd | From System Browser, link the exact point that corresponds with the louvre command. |
LouvresOpenCloseCmd | Link the exact Boolean point that will manage the blinds open/closedown commands. |
LouvresValue | From System Browser, link the exact point that corresponds with the louvre value. |
Precision | Defines the blinds and louvre value resolution displayed in the graphic. Default is 0. |
DYN_2D_KNX_Light_WhiteTunable_Central_001 | |
| |
| |
Engineering the symbol | |
To use this symbol in your graphic, drag it from the Library Browser1) and set the required substitutions in the Symbol Instance Properties. | |
Symbol Instance Properties | |
Substitutions | Setting |
*ColorTemperatureValue2) | From System Browser, link the exact point that corresponds with the value of the color temperature. |
ColorTemperatureCmd | from System Browser, link the exact point that corresponds with the command of the color temperature. |
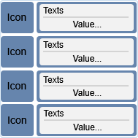
DYN_2D_KNX_Generic_None_Horizontal_00 |
|
|
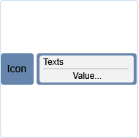
DYN_2D_KNX_Generic_None_Horizontal_002 | |
| |
NOTE: This symbol can be used to display up to four values. If less than four, just leave the remaining value fields empty. | |
Engineering the symbol | |
To use this symbol in your graphic, drag it from the Library Browser1) and set the required substitutions in the Symbol Instance Properties. | |
Symbol Instance Properties | |
Substitutions | Setting |
*Value12) (/Object Reference) | From System Browser, link the exact point that corresponds with the wanted value. |
Value2…Value4 | From System Browser, link the exact points that correspond with the values you want to display in the graphic. |
BoxWidth | Defines the box width. Default is 75. |
Precision1…Precision4 | For each of the four values, specify the value resolution displayed in the graphic. Default is 0. |
Examples of Boolean Graphic Commands |
….. |
|
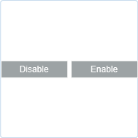
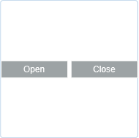
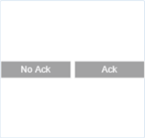
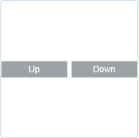
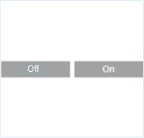
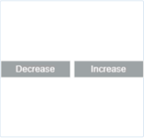
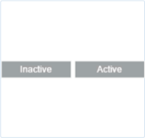
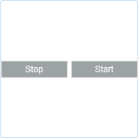
DYN_2D_KNX_Generic_Bool_None_Horizontal_001 | |
| |
| |
Engineering the symbol | |
To use this symbol in your graphic, drag it from the Library Browser1) and set the required substitutions in the Symbol Instance Properties. | |
Symbol Instance Properties | |
Substitutions | Setting |
*BooleanSetpoint2) (/Object Reference) | From System Browser, link the exact point that corresponds with the wanted value. |
CommandLeft | Name of the command on the left as defined in the object model. |
CommandRight | Name of the command on the right as defined in the object model. |
ParameterLeft | Parameter of the command on the left as defined in the object model. Default is 0. |
ParameterRight | Parameter of the command on the right as defined in the object model. Default is 1. |
TextValueLeft3) | String that defines the text to display on the command left button. |
TextValueRight3) | String that defines the text to display on the command right button. |

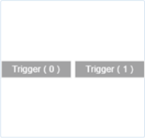
DYN_2D_KNX_Scene_Control_None_Horizontal_00 |
|
|

1) |
|
2) | Each substitution must have its own link. A substitution with an asterisk (*) means that this substitution corresponds with the object reference and drag-and-drop is not allowed in that field. In this case, link the point corresponding to this substitution to the Object Reference field in Symbol Instance. |
|
|
3) | To localize the texts of the command symbols, do the following:
|